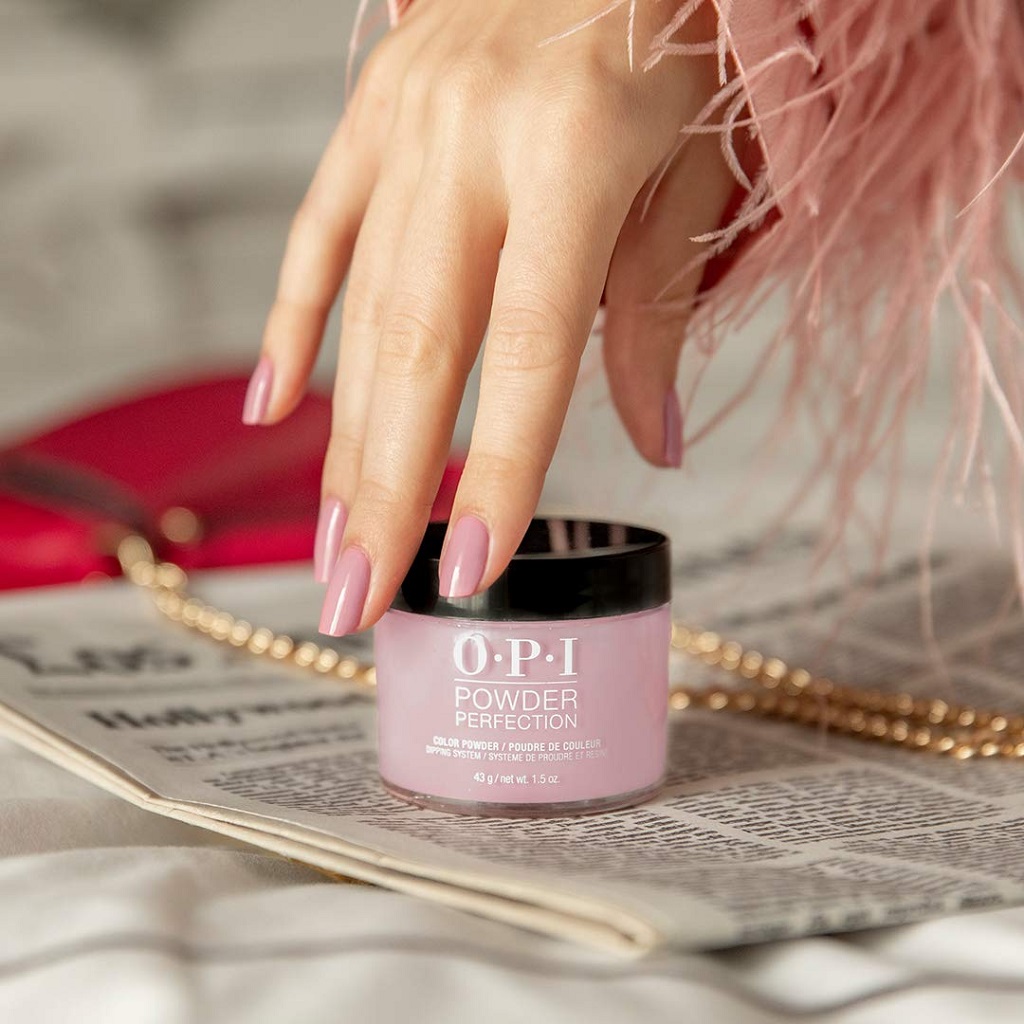
If you are a fashionista and always on the lookout for the latest trends, there is no way that you aren’t familiar with the long-lasting and shiny manicure of OPI dip colors. It wouldn’t be an exaggeration to say that when it comes to the best manicure option, you might want to look for the best OPI dip powder near me. And, if you have been going with acrylic nail extensions for some time now and trying to do something new, something shinier, glossier, and long-lasting, there is no better choice than opting for the OPI nail colors.
We are confident that the OPI gel manicure will be the ultimate game-changer and one of the best decisions for your manicure look for this holiday season. So, before we dive into the list of what contributes to the popularity of OPI nail dip colors, let us first go through the application process of OPI colors.
Benefits of OPI Nail Dip Colors
The OPI nail colors are formulated without strong chemicals and usually contain added vitamins and calcium. Since no UV lamp is required for the curing process, it doesn’t damage the nails and is a perfect manicure option for those who are looking forward to a long-lasting, glossy, and shiny manicure. The removal process of OPI nail dip colors is easy. All you have to do is to file away the shine and soak the nails in acetone for up to 15 minutes.
How to Apply OPI Dip Colors?
The application process of OPI dip powder is easy, even for those who don’t want to, even for those who don’t want to visit the salon and want to do their manicure themselves. You don’t need a UV lamp, just trim your nails, and you are all set to start the application process.
Prepare the Powder Dip Containers
Before starting with the application process, take enough OPI nail dip powder into separate containers to avoid mixing. You can skip this part if you are the only one who will use the OPI nail dip colors.
Apply the Base Coat
After prepping the nails, you should apply one coat of the OPI base coat onto the nail. Make sure to apply it on the entire nail surface in even strokes, besides leaving out some narrowness near the cuticle. By doing so, you will prevent a thick cuticle surface at the end of the manicure.
Dip the Nails
After applying the OPI base coat, instantly immerse the nail into the OPI dip color of your choice. While dipping, keep your nail at a slanting angle. Then, tap the nail to remove the excess powder. Repeat this process on each nail by treating one nail at a time to prevent the OPI base coat from drying out.
Go for the Second Coat
Don’t panic if you see any streakiness on the first coat, as you can cover it with the second coat. Next, use a cosmetic brush to remove any of the remaining loose powder of the OPI dip color of your choice while focusing on the cuticle, underneath the nail’s free edge, and the sidewalls of the nails.
Mask any Imperfections with Another Coat
Then apply another layer of the base coat; however, you will apply the coat closer to the cuticle. Subsequently, repeat the process on each nail. It is all right to be a bit more heavy-handed with the second layer as this will cover any streakiness of the previous layer. Again, remove any remaining powder while focusing on the free edge, sidewalls, and the cuticle.
Apply Color Set Powder
Next, apply one thin coat of the OPI base coat onto the nail. Subsequently, dip the finger into the OPI clear color set powder while keeping it (the finger) at a slanting angle. Let the nail soak in the powder before tapping off any extra powder. If the nail looks bulky at this point, don’t worry about it, as you will refine and shape the nails afterward.
Apply OPI Dip Powder Activator
After brushing off the excess with a cosmetic powder, you can proceed to apply a generous layer of the OPI dip powder activator. While applying, make sure that the entire surface of the nail is covered. In case you are wondering, the job of the activator is to cure and harden all three layers of the OPI nail dip colors.
Apply the Topcoat
Don’t forget to cap the free edge of the nails before you can shape and file the nails. It usually takes the activator two minutes to harden the nails. Lastly, apply the topcoat while using two to three quick strokes of the brush. When the nails are dry, complete your OPI nail dip manicure by massaging a few drops of oil into the cuticles.
Conclusion
The OPI dip nail colors are kind of like a hybrid version of the OPI gel and acrylic nail colors. The OPI dip powder can be used on your natural or enhanced nails. The dip powder manicure is a perfect choice for someone who wants to obtain a smooth and even application.